The winter months are far from ideal for camping in Oregon so we took one of the few sunny days to perform some upgrades. One of the disadvantages of living in Oregon is the issues with mold and being parked outside, the camper was not immune to this problem. After reading many solutions to the problem thanks to the Vanagon e-mail list and The Samba I decided to go all out and replace the canvas tent and refurbish the fiberglass pop-top.
The previous owner attempted to paint the roof but judging by the white paint that came off during each car wash I thought I would give it a try myself. Here are some before pictures of the roof and luggage rack:
The old canvas was in surprisingly good condition after 30+ years of use but it was the old "one-window" design and the zippers didn't work.
First up was removing the luggage rack:
As you can see the metal hooks on the luggage rack were all rusted and the paint faded. I also discovered old wasp's nests under each of the drain holes. The metal roof underneath had no rust at all but it was very dirty with alot of build-up.
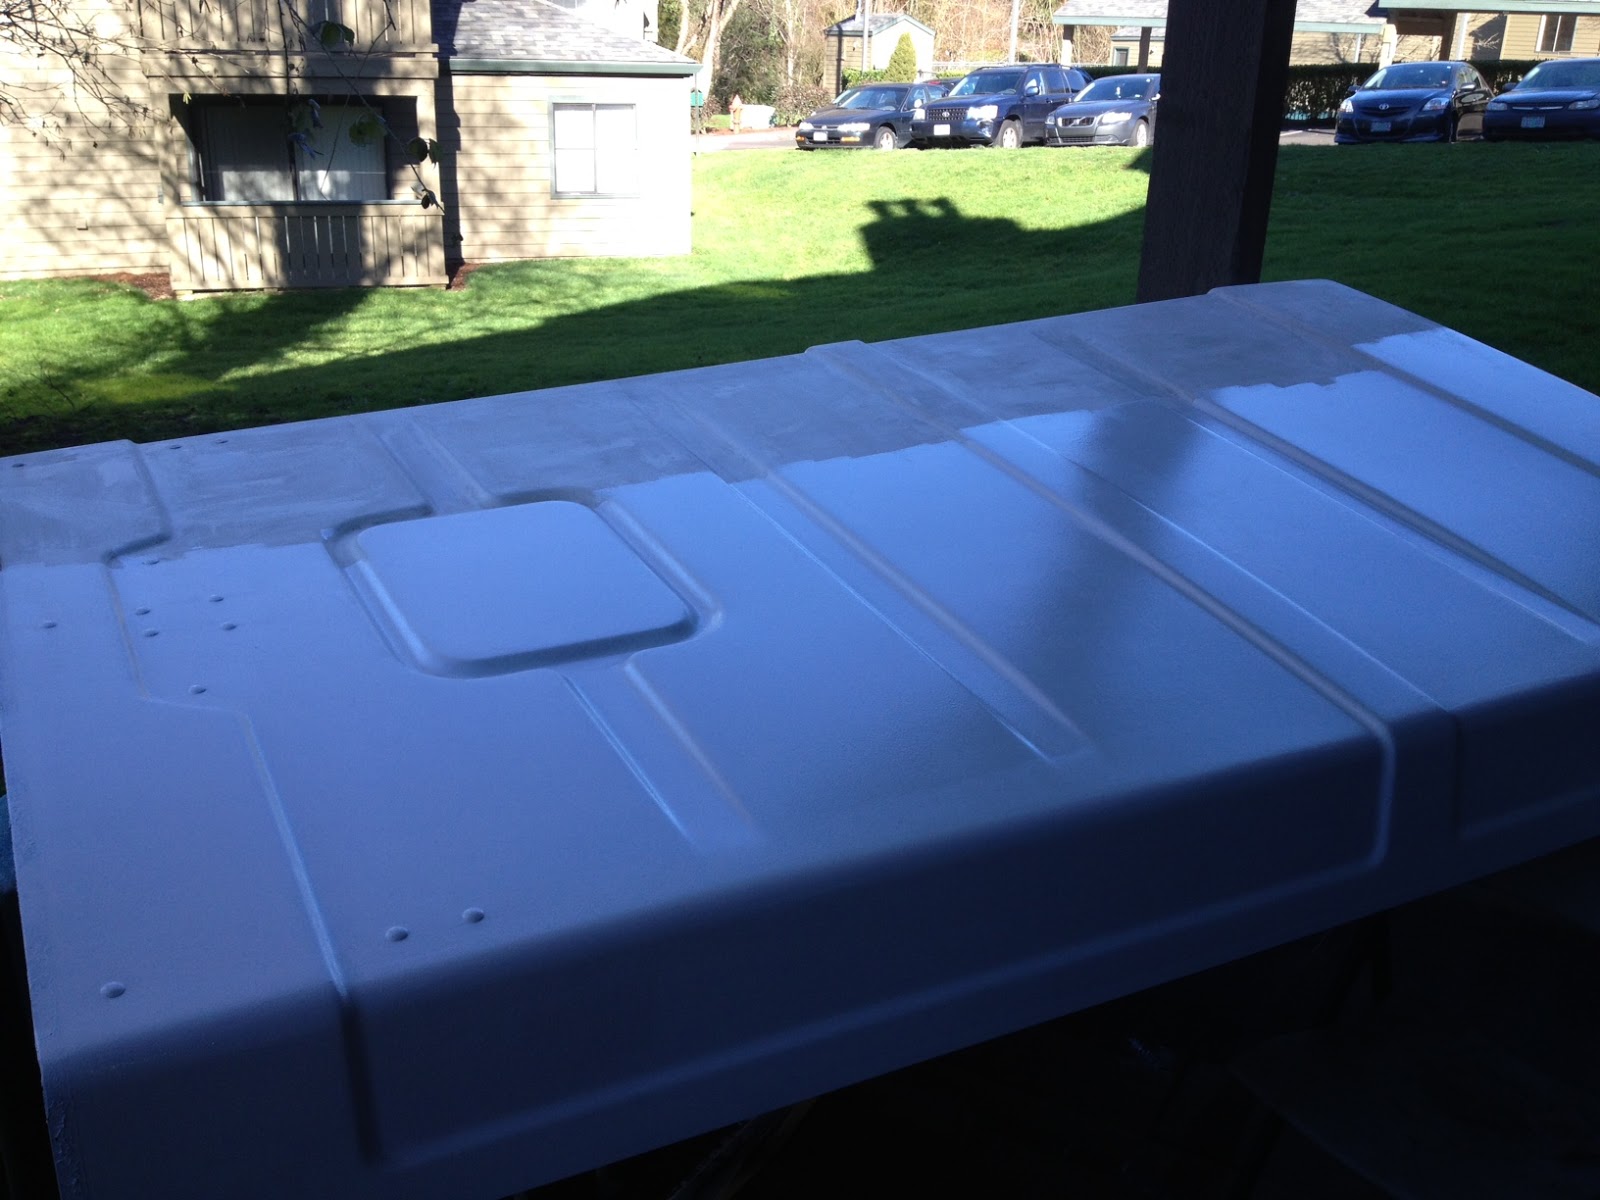
Here are some of the after shots:
A little NuFinish does wonders on 30 year old paint. I used a palm sander with 150 grit sand paper on the fiberglass and used one coat of Kilz premium primer followed by a coat of Behr Premium satin exterior paint. I think it looks great but only time will tell how well it stands up.
While I had the luggage rack off I decided to do some upgrades, below you can see the "new" tie-down hooks as well as drain hole screens:
The hardest step for the luggage rack was actually drilling out the old metal hardware due to them being riveted in. Once they were out, everything was sanded down and sprayed with Rustoleum and re-attached with stainless nuts and bolts. I also thought I would try something to minimize the issue of leaves and other build-up that accumulated under the rack and installed some convex metal screens. I purchased these garden hose replacement screens and glued them in from the bottom. I still think these will clog up but thought it was worth a try.
Unscrewing the bottom part of the canvas tent was straight forward but got a little cramped at the back. It also made me think how much harder it will be to re-install. Here are some shots of the front and rear canvas being removed.
I ordered a new 3 window canvas tent for the pop-top and all new seals from Bus Depot for the entire roof and the timing was pretty much perfect as the parts I ordered arrived on a sunny day. It is suggested that the roof be removed with a minimum of 3 people but I wasn't going to tell that to my wife. With her strength the two of us managed to take the whole roof off, go down a flight of stairs and place it on our front porch so I could work on it.
Here is the Vanagon with a nice open "sunroof", I don't think it looks nearly as good without the roof:
With the roof off it was time to get to the real work....first up was removing the mold issues. I had previously tried a non-toxic mold spray earlier that worked somewhat but left a terrible white film on everything so at this point I decided to use bleach. An empty spray bottle filled with 1 part bleach, 6 parts water and a little bit of laundry detergent was used in combination with a scrub brush. It did an amazing job and looked almost new while giving a nice fresh scent at the same time. I wanted to neutralize the bleach afterwards so used a 6-1 ratio of water and vinegar and sprayed it on afterwards
Here is the finished inside roof:
The older camper versions had a stapled canvas roof top and here is a shot of the plastic strips and staples (200+) that had to be removed.
A good before shot showing the condition of the roof:
Again, it was sanded with the palm sander, primed and painted with a soft roller.
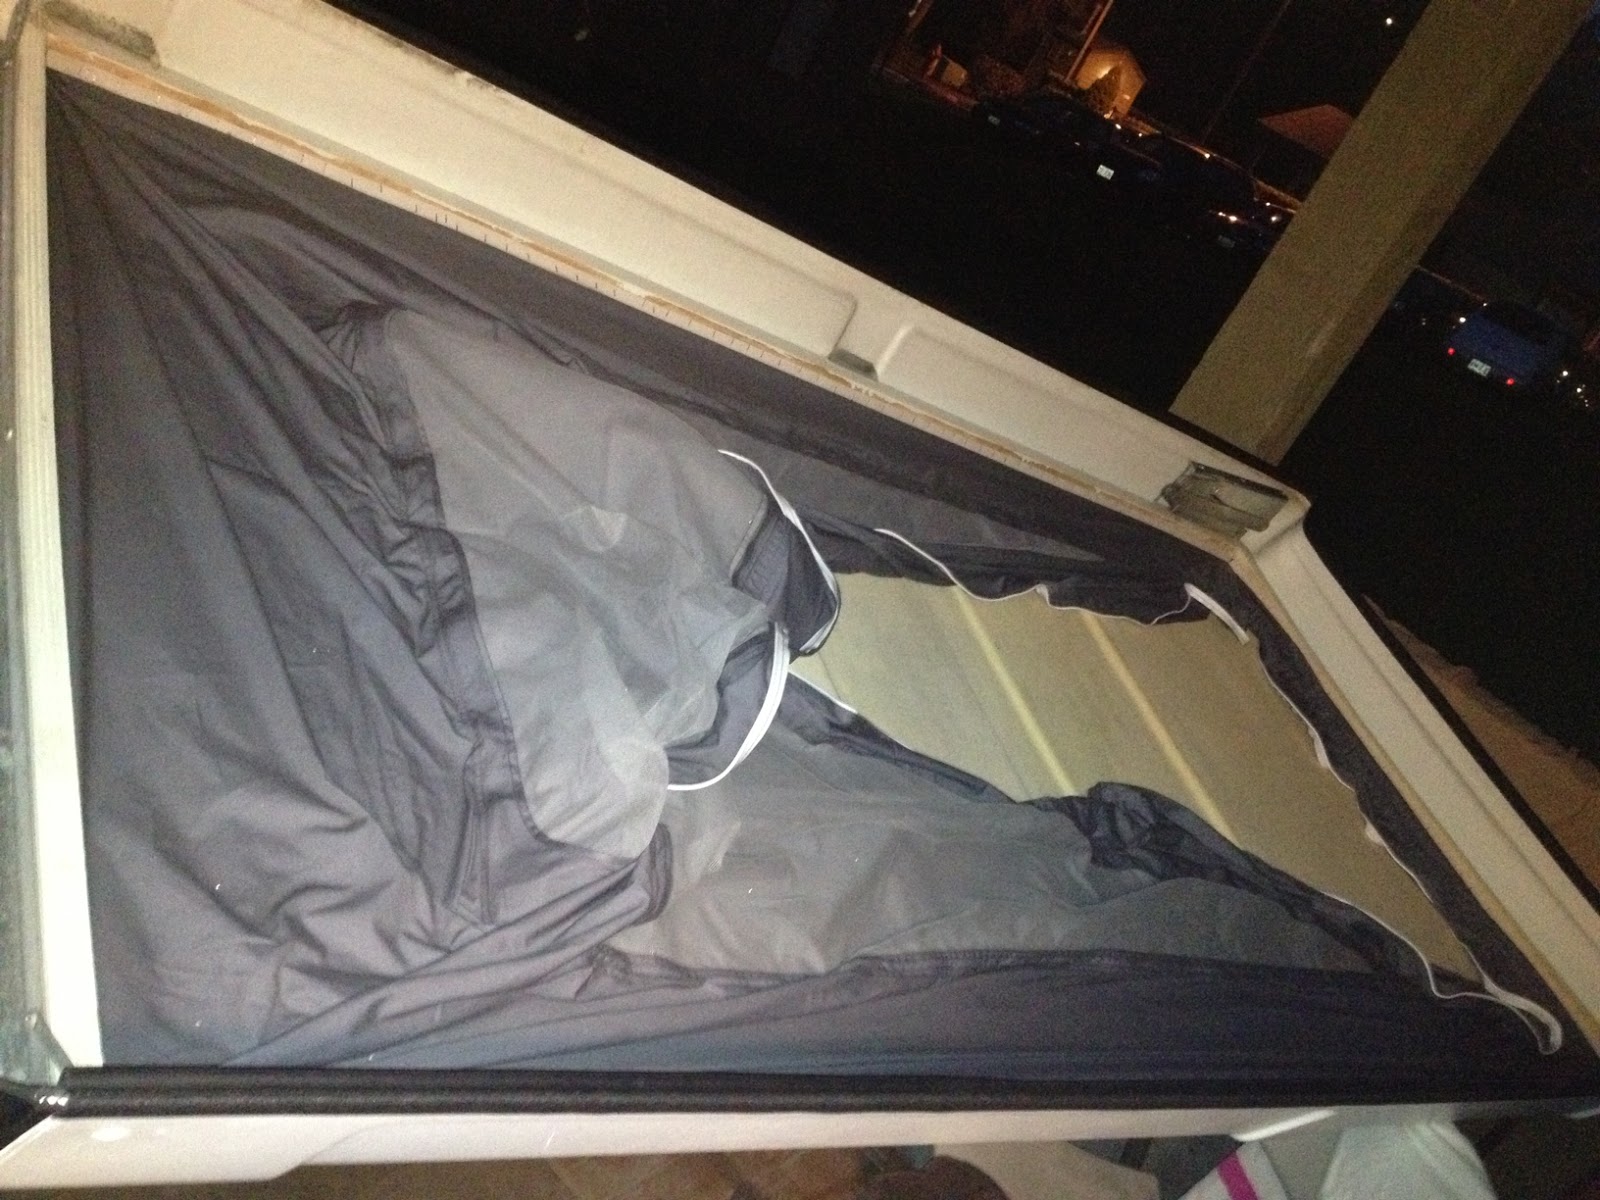
My goal was to have the new canvas installed and put back on the camper before nightfall so I used a hair dryer to speed up the drying process. At this point I could turn the roof over and staple in the top half of the canvas tent:
I bought a heavy duty Stanley staple gun which worked great but noticed that it was cracking the plastic strips. I then used the hair dryer again to warm the strips before stapling which worked great. As you can see it was dark outside at this point so I called upon the "She-Hulk" wife and we managed to get the roof back on for the evening:
I can't believe the amount of work we accomplished in one day!!!
And here it is the next morning! I have yet to get the corners screwed in and am confident that will straighten out the remaining wrinkles and tighten things up but had to stop due to the rain. All new seals installed as well as a new WESTFALIA sticker for the rear make this roof better than new.
Initially I was very hesitant to tackle this project alone and contacted a few vendors regarding other options and installation prices but couldn't justify the parts and labor costs. Overall, I am extremely happy with the end result as well as the quality products and prices from Bus Depot. We are ready and looking forward to our next camping adventure.
And here she is all complete. My fingers are raw after getting the four corners in and yes...the rear corners were extremely difficult. I think it fits perfect, the grey color gives it a more updated look and the extra side windows let in so much more sunlight.


Hi John! How has the paint held up over time?
ReplyDeleteHonestly, very happy with it. It's been well over a year now and looks as good as it did when I first painted it. My thoughts were "if it's good enough for the outside of a house, then it's good enough for the camper". Couldn't beat the price too
DeleteGreat writeup! Did one quart of primer and paint supply enough materials for the job? How much did one coat take you? I am going to do this with the interlux primer and paint, but its expensive to think it will take 2 quarts of each!! Cheers.
ReplyDeleteKyle @KyloRich
Hey Kyle
DeleteI'm pretty sure it was just one quart of each primer and paint to cover it, there definitely wasn't much left, it really sucked up the paint after sanding. I actually enjoyed reading my write-up again. That was a ton of work for one day. Over 3 years and I think it still looks great.
John